
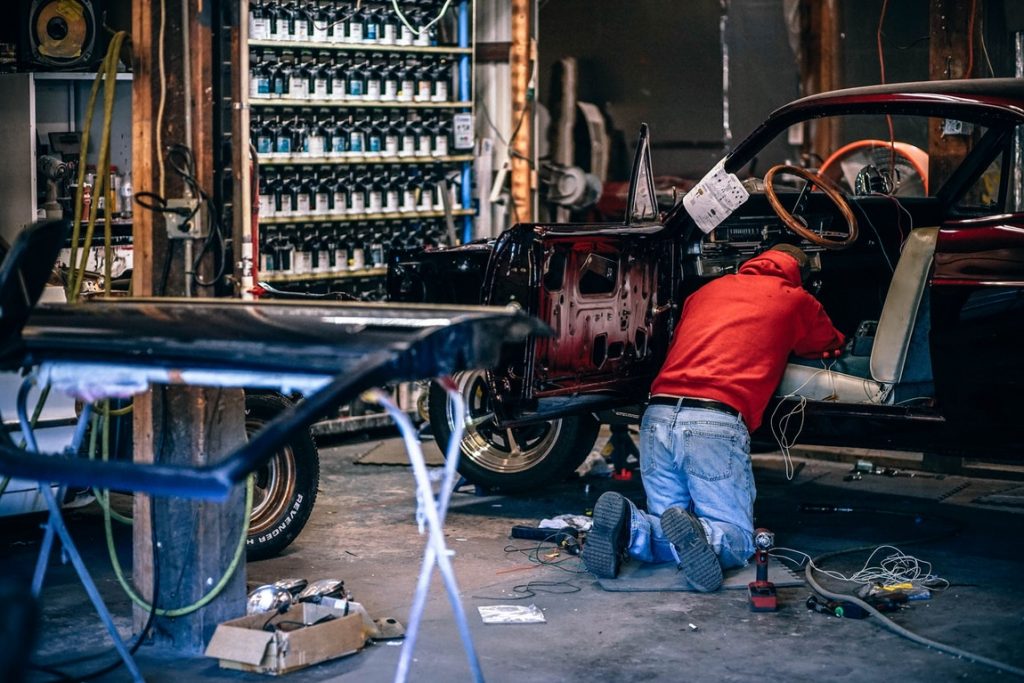
Getting scratches on your automobiles paint job may be devastating! Fortunately for you, in case they’re not far too deeply, they are able to be finessed from the top surface.
Many scratches and scuffs, at the same time as some paint and “orange peel” defects, could be “finessed” out, based on severity. You have to tread lightly, the majority of apparent coats is able to be 3 5 mils thick, in addition to a regular “finesse job” can easily remove.5 1.0 mils of clear coat.
Before we carry on, this medium article said that there are lots of ways to paint your car like a pro, even if you’re an amateur. If in case you have been planning to repaint your scratched vehicle, do read the interesting article they’ve posted.
Pre-inspection
Firstly you are going to want to clean the vehicle. This can enable you to effectively asses the damage and will avoid making the situation even worse as you attempt maintenance. Wet buffing and sanding a dirty automobile may truly create scratch worse!

After the automobile is thoroughly clean, examine the area. In case it’s only a simple scuff or even tries painting transfer from the item which strikes it, you are able to skip right to buffing typically.
If it’s a bit deeper, you are going to need to wet sand first. In case it’s way too deeply (paint layer, bare metal, or maybe primer exposed), then the board will need to be repainted.
Wet-sanding
In case you chose to wet sand, you are going to need to obtain a foam sanding block along with wet sanding paper. You are going to want 2000 grit as well as 3000 grit “wet-or-dry” paper, discovered at most parts outlets and auto body supply shops. The foam pad is a necessity since it conforms to the area you’re doing, it absorbs drinking water (you must maintain the work area wet), and they’re normally affordable. You simply want to wet sand until the defect is long gone.
Excessive sanding yields no additional benefit and also makes the clear coat also think. The look after sanding is a dull, chalky color, though it really should be sleek as well as. I normally start with 2000 resolution to do the majority of the work, follow up with 3000 resolution making it real smooth.
Constantly maintain the work area WET and also you are able to include a couple of drops of dish soap to the water (in case you’re making use of a squirt bottle) for added lubrication.
Polishing
To polish, you are going to need an electric polisher with varying speed. I typically set the pace between 1500 RPM as well as 2500 RPM, based on what I am working on and what pad type I’m using. I only use foam pads unless I have a great deal of material to eliminate, and then I am going to use wool.
You’ll also have to have a compound. You will find various grades of a compound based on just how much material you have to remove. The heavier the “cut,” the bigger the grime within the combination. In case you’re polishing after 3000 grit, there actually is not a requirement of a “heavy cut” combination.
Remember that each step of the procedure eliminates a tiny quantity of clear coat, which means you usually want to go as little as they can.
Apply some compound on the work area and start polishing together with the buffer. One thing to ALWAYS keep in mind with the buffer is NEVER quit going. Polishing creates heat, and once the color gets pretty warm, it is able to blister. In addition, avoid raised edges.
Raised edges are able to burn through the paint quite rapidly, down to primer or maybe even bare metal. As you shift the polisher forth and back, the compound will look wet, then dried out then ultimately disappear. You need to work in small areas, saying that cycle (wet, dry, gone). Keep practicing until the dullness on the wet sanding is gone.
Ultimate Glaze
Polishing is able to go out of the color shiny, but there’s one more step to unlock the perspective shine truly. To do this, you want a softer pad on the polisher (I find the softest foam they offer) along with a container of special compound usually termed “finishing glaze” (also called “swirl mark remover).
Its an extremely compound designed to bring a very high gloss and then eliminate swirl marks from the earlier action. It’s applied the same as the normal compound.
After the finishing glaze is put on, an excellent layer of wax is suggested to protect the color. When the automobile is recently painted, bypass the wax because it is able to stop the outgassing of paint solvents weeks after a paintwork. Rubbing compounds as well as finishing glazes are silicone-free and also will not “seal” the color, therefore they’re secure for “fresh” paint jobs.