

The opening paragraph of an article offers you a great chance to introduce readers to what your piece will cover and build their interest enough for them to read further. Your aim should be to intrigue readers enough for them to keep turning pages!
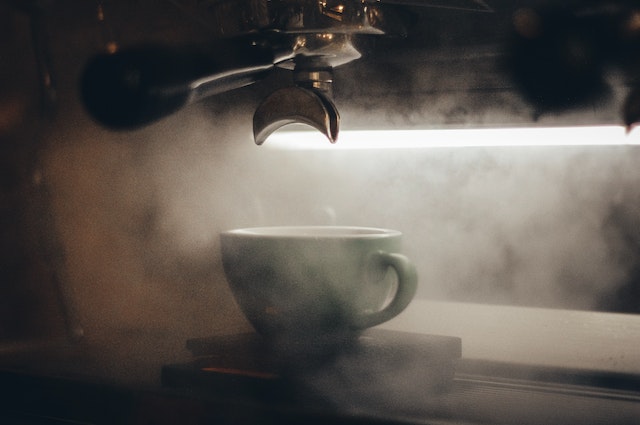
Utilizing your grinder correctly will enable you to gain maximum benefit and ensure your coffee tastes fresh and flavorful every time it’s brewed.
Clean it Regularly
Cleaning your grinder regularly is essential if you want to get the most from it. Dirty grinders can produce foul-tasting notes in your coffee, leading to technical problems and keeping it functioning optimally over time. Regular maintenance can help prevent these issues and extend the lifespan of your machine.
An efficient method for cleaning a grinder is to do it after each use. But for deeper cleanings, you should also regularly unplug and empty its bean hopper, before washing any removable plastic or rubber pieces in hot soapy water with hot soapy water and rinsing thoroughly afterwards. Next step should be removing its inner burr and using an appropriate brush (one designed specifically to clean sensitive metals like nickel) to scrub away any coffee residue build-up on it.
Once the hopper and inner burr have been thoroughly cleaned, it is recommended to quickly vacuum or wipe down all remaining parts of your grinder to remove any remaining coffee particles or oils that have settled. A dry cloth can also be used to wipe interior surfaces of hopper, bin, and chute.
Marzia suggests running old or stale coffee beans through your grinder before using it for the first time after deeper cleaning, to flush away any remaining oils from hard-to-reach corners and season the burrs so they absorb flavor oils more readily – this will make future grindings of fresh beans taste better!
Don’t Overload it
Coffee grinders can make quite the racket, which can be both annoying and harmful in the long run. Excessive noise can damage hearing as well as have psychological ramifications such as stress, difficulty focusing and headaches; but there are ways you can quieten down your grinder so your mornings become more pleasant.
One effective way to reduce the noise your grinder produces is to regularly clean it. Over time, oils and coffee particles may build up in your grinder and cause it to overheat, producing excessive noise during grinding process. Cleaning will remove these unwanted elements quickly after using it – ideal as soon as you’ve finished!
Another easy way to reduce noise produced by your grinder is misting it with water before grinding – known as the Ross Droplet Technique and proven effective at eliminating static electricity while significantly decreasing noise during this process.
Finally, to reduce noise produced by your grinder, only grind as much coffee as is immediately required at one time. Overloading can result in unwanted noise and clog, so only grind what will immediately satisfy your coffee needs.
Your coffee grinder can also add an exciting and unique experience to your morning cup by grinding spices. Be mindful when grinding different kinds of spices using your grinder as some may require different levels of fineness based on what type of beans are being ground (roasted coffee beans contain oils which adhere to its burrs and then get transferred onto other ingredients when ground afterwards).
Remove Stuck Beans
According to Coffeeble.com, beans that get stuck in your grinder can clog it, leading to either an interruption in grinding operations, or potentially damaging its burrs and necessitating costly replacement costs. Therefore, it’s essential to maintain your coffee grinder as efficiently as possible by regularly clearing away any particles that become lodged there.
One technique many people employ to combat this problem is known as the Ross Droplet Technique, coined by David Ross in 2005 and popularly used since. It involves adding small drops of water directly to your beans before grinding; this helps add humidity that reduces static charge, making it easier for them to pass through your grinder. You can do this using either a spray bottle or simply paper towel – however for optimal results make sure only small amounts are evenly dispersed into droplets.
Some may worry that adding moisture to their coffee grinder, particularly an electric model, may reduce its lifespan or cause corrosion or rusting. But most grinders are built to withstand very little water; adding just a few drops should have no negative impact on performance or lifespan of your grinder.
One strategy to prevent clogs is to run a full batch of coffee on its coarsest setting before switching to finer settings. This will loosen any stale beans while helping clear away larger particles that may have collected during grinding process. When finished, vacuum or wipe away debris from your grinder hopper as well as any removable parts before starting up again.
Adjust the Grind Settings
Grind settings on your grinder have an enormous influence over the coffee you produce, so it is wise to maintain a range of settings to accommodate various brewing methods and coffees. Learning to confidently adjust these settings will enable you to consistently produce fantastic brew.
Fine grinders will help extract more flavor compounds while balancing acidity; coarse grounds allow more freely flowing water through, which reduces extraction of bitter compounds while keeping more moisture within the coffee bean, adding sweetness and body balance.
No matter the grind setting you select, age of beans should also be an important factor. When purchasing freshly roasted or within weeks of roast date beans, to ensure peak flavor and aroma.
At times, your grinder can produce unexpected “freak doses”, which may run faster or slower than usual compared to all the shots you have made previously. This usually occurs due to large and small beans falling through its blades at precisely the prescribed dose time, creating a mixture between big and small beans being ground into powder at once.
To adjust a grind, first remove the metal wire handle from the top burr, loosen its top ring until it can spin freely, and use a marker or similar object to mark zero position on your adjustment ring (ideally next to red dot on top burr shaft). Now turn clockwise or counter-clockwise as necessary on adjustment ring until desired grind settings are reached; clockwise means finer grinding while counterclockwise means coarser.
Clean the Blades
Cleanliness of your coffee grinder is essential to its quality and should be done on an ongoing basis to avoid it becoming clogged up, leading to reduced grinding efficiency that subsequently affects the quality of brewed coffee. Regular maintenance cleaning should help avoid this from happening, while it’s advisable to give it an intense deep clean prior to storing for extended periods.
To clean a burr coffee grinder, begin by unplugging and removing the bean hopper. Next, use a damp cloth to wipe down all removable parts and allow them to dry thoroughly before reassembling your unit. Using an appropriate brush for your grinder could also be useful for clearing away any leftover grounds and debris; while brushing down burrs will ensure any internal areas containing coffee particles or oils remain spotless.
For blade grinders, first empty the hopper and use hot soapy water to clean its receptacle and any removable pieces that can be removed with hot, soapy water. Once this step has been completed, a cotton swab may come in handy for reaching hard-to-reach spots – or for an additional deep clean use either an expensive coffee grinder cleaning tablet or plain dry uncooked rice for best results.
Once finished, reassemble the grinder, plug it back in and enjoy a cup of fresh-brewed coffee! By following these tips you’ll keep your grinder in top condition and make the most out of it – and one day you might even be able to sell it!


